If you want to sell products online, WooCommerce is one of the most flexible ways to turn a WordPress website into a complete ecommerce store. It gives you control over your products, store design, payments, shipping, checkout, and the additional features your business may need as it grows.
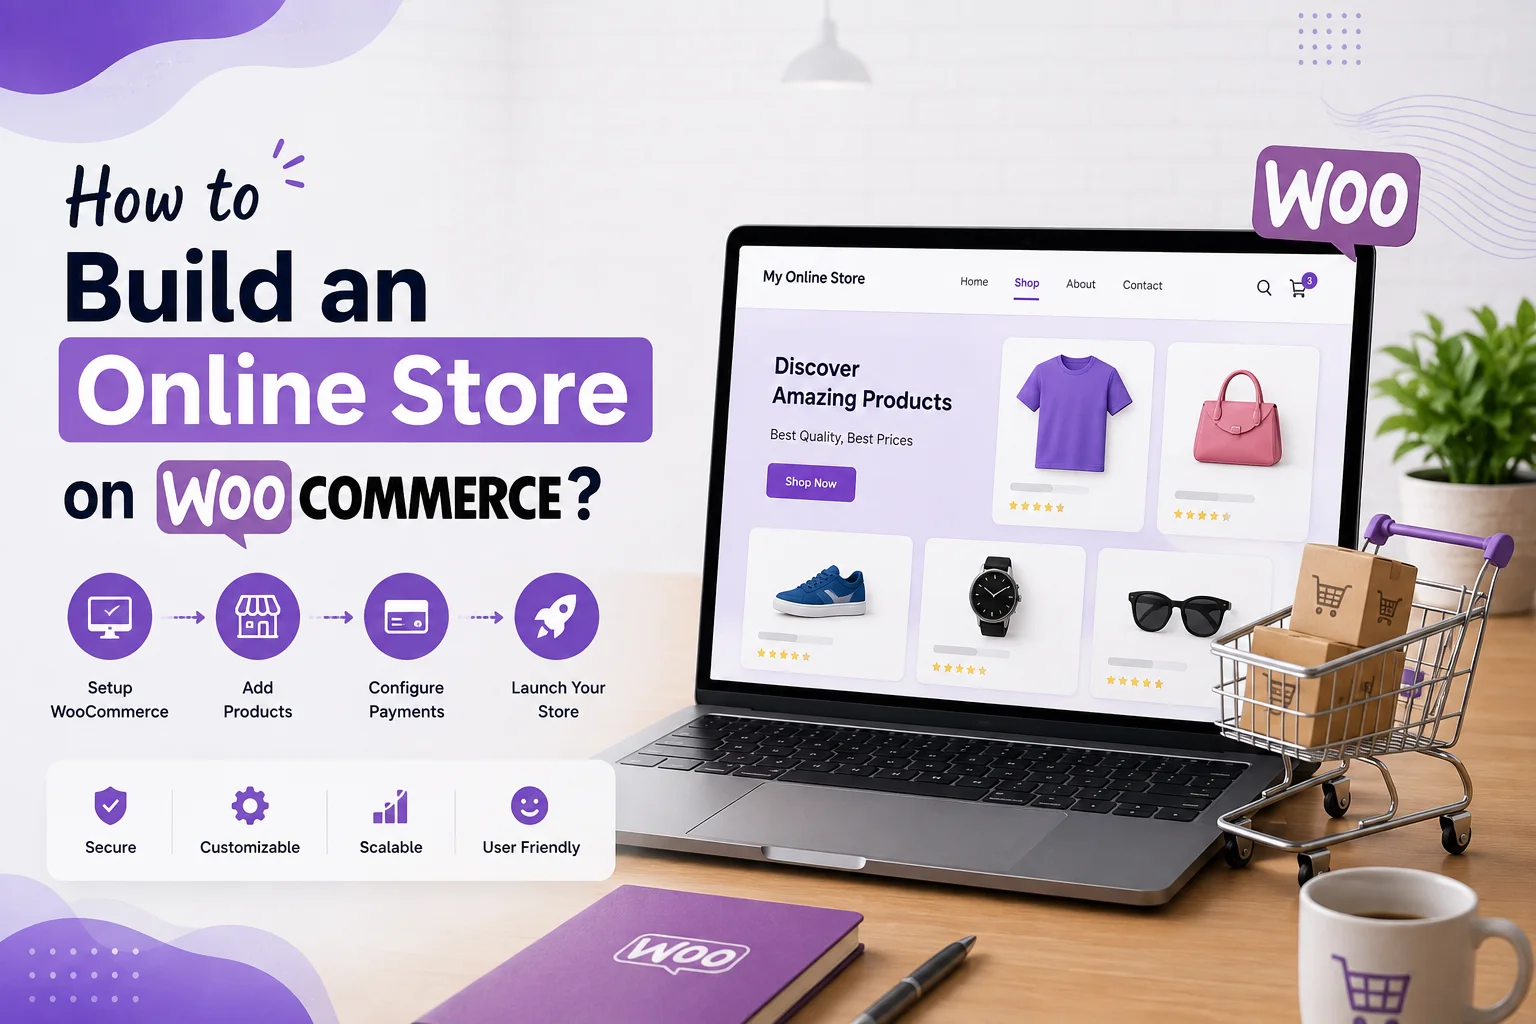
However, knowing how to build an online store on WooCommerce involves more than installing a plugin. You need to choose the right hosting, configure WooCommerce, add products, set up payments and shipping, create a user-friendly storefront, and test the buying process before launch.
In this guide, you’ll learn how to create an online store with WooCommerce step by step, what you need before getting started, and which areas you should check before making your store live.
What Do You Need to Build an Online Store With WooCommerce?
Before starting your WooCommerce store, prepare the basic components required to run an ecommerce website:
- A domain name
- Reliable WordPress hosting
- WordPress
- WooCommerce
- SSL certificate
- WooCommerce-compatible theme
- Products or services to sell
- Payment method
- Shipping options for physical products
You should also decide how you want to organize your products, which customers you want to serve, and how orders, returns, shipping, and customer support will be handled.
Planning these details first can make the WooCommerce store setup process more straightforward and help you avoid unnecessary changes later.
Step 1: Choose a Domain and Hosting
Your domain is the address customers will use to find your online store. Choose a name that is easy to remember, simple to spell, and relevant to your brand.
After choosing a domain, select WordPress hosting that can support your expected traffic and WooCommerce requirements. Ecommerce websites can require more resources than basic WordPress websites because they handle product pages, carts, checkout sessions, customer accounts, and order information.
When comparing hosting options, consider:
- Performance and server resources
- SSL support
- Backup options
- Security features
- Customer support
- Scalability
- WooCommerce compatibility
A reliable hosting environment provides a stronger foundation for your store and can help deliver a smoother shopping experience.
Step 2: Install WordPress
Once your domain and hosting are ready, install WordPress.
Many hosting providers offer an automated WordPress installation process. After installation, access your WordPress dashboard and review the basic website settings.
Check your:
- Site title
- Website URL
- Permalink structure
- Time zone
- User accounts
- Homepage settings
Make sure HTTPS is enabled through an SSL certificate before you start accepting customer information or configuring payments.
Step 3: Install and Configure WooCommerce
Now it’s time to install WooCommerce.
From your WordPress dashboard, go to:
Plugins → Add New Plugin → Search for WooCommerce → Install → Activate
WooCommerce will guide you through the initial setup process. Depending on your configuration, you’ll need to provide information such as your store location, currency, product type, and other basic details.
This is an important part of your WooCommerce store setup because these settings influence how your store handles products, orders, payments, taxes, and shipping.
After completing the initial setup, go to:
WooCommerce → Settings
Review the available settings for your store, including products, taxes, shipping, payments, accounts, privacy, emails, and advanced options.
Don’t rush through these settings. The right configuration at this stage can prevent problems when customers begin placing orders.
Step 4: Choose a WooCommerce Theme
Your theme controls the appearance and much of the layout of your online store.
Choose a WooCommerce-compatible theme that provides a clean, responsive design and makes important product information easy to find.
Your product pages should clearly display:
- Product name
- Product images
- Price
- Product description
- Product variations
- Add to Cart button
- Shipping information
- Relevant purchase details
Avoid selecting a theme only because it has impressive animations or visual effects. For ecommerce, usability should come first.
Your store should also work properly on mobile devices. Check menus, product images, buttons, forms, cart pages, and checkout on smaller screens before launch.
Step 5: Add Products
Once the basic configuration is complete, you can start adding products.
Go to:
Products → Add New
Add the information customers need to make an informed purchase, including:
- Product title
- Description
- Short description
- Price
- Product images
- Product category
- Inventory
- Shipping information
- Attributes and variations
Your product content should be clear and useful rather than simply repeating generic manufacturer descriptions.
Explain what the product does, who it is for, its important features, and anything customers should know before purchasing.
If your products have options such as size, color, material, or other attributes, WooCommerce variations can help you manage those choices within a single product listing.
Step 6: Organize Products With Categories
A good category structure helps customers find products more quickly.
For example, a clothing store could use categories such as:
- Men’s Clothing
- Women’s Clothing
- Shoes
- Accessories
Use product tags and attributes when they provide additional value, but don’t create unnecessary categories simply to add more pages.
Think about how a customer would naturally browse your store. Your navigation should make it easy to move from the homepage to categories, products, cart, and checkout.
Step 7: Configure Payment Methods
Payment configuration is one of the most important parts of setting up your store.
Go to:
WooCommerce → Settings → Payments
The payment options available to you will depend on your location, business model, payment provider, and customer requirements.
You may be able to offer options such as:
- Credit and debit cards
- Bank transfers
- Cash on delivery
- Digital payment methods
- Other supported payment gateways
Before choosing a payment gateway, review transaction fees, supported currencies, settlement terms, security requirements, and compatibility with your store.
Most importantly, test the payment process before launch so you know orders are being processed correctly.
Step 8: Set Up Shipping and Taxes
If you’re selling physical products, you’ll need to configure shipping options.
WooCommerce allows you to create shipping zones and methods based on where your customers are located. Depending on your business, you could offer:
- Free shipping
- Flat-rate shipping
- Local pickup
- Location-based shipping
Choose a shipping strategy that is easy for customers to understand.
Taxes require additional attention because the rules can vary depending on your business location, customers, products, and applicable regulations. If you’re unsure about your tax obligations, consult a qualified tax professional.
Step 9: Customize the Checkout
Checkout is one of the most important stages of the customer journey.
A complicated checkout can create friction and may cause customers to abandon their purchases. Keep the checkout process focused and request only information that is necessary for completing the order.
Review whether customers can clearly see:
- Products they selected
- Quantities
- Product prices
- Shipping costs
- Taxes where applicable
- Payment options
- Final order total
Some businesses also need additional customer approval during checkout. For example, stores selling custom products, services, rentals, or products requiring authorization may benefit from a digital signature for WooCommerce checkout.
The important point is to add extra checkout fields only when they serve a genuine business purpose.
Step 10: Add the Right WooCommerce Plugins
One of WooCommerce’s major advantages is its flexibility. You can extend your store with plugins and extensions based on your specific requirements.
However, adding too many plugins can create unnecessary complexity.
Instead, identify the problems you actually need to solve. Your store might require functionality for:
- SEO
- Security
- Performance
- Analytics
- Product management
- Checkout customization
- Marketing
- Customer communication
- Backups
Before installing an extension, consider compatibility, maintenance, support, features, performance impact, and whether you genuinely need it.
You can also review our guide to Must-Have WooCommerce Plugins for examples of tools that address different ecommerce requirements.
The goal isn’t to install as many plugins as possible. A focused plugin stack is usually easier to maintain and troubleshoot.
Step 11: Improve Product-Related Customer Communication
Not every customer interaction needs to happen directly through the product page.
Some WooCommerce businesses receive product inquiries, quotation requests, wholesale questions, or custom-order requests through Contact Form 7. In these situations, allowing customers to select a product directly inside the form can make the process clearer.
For example, a WooCommerce product selector can allow visitors to select the product they are asking about instead of manually typing its name. This can reduce confusion and give the business more structured inquiry information.
If you need a simpler implementation, you can also see product dropdown in Contact Form 7.
This type of functionality isn’t necessary for every store, so add it only when your customer communication workflow requires it.
Step 12: Test Your WooCommerce Store
Before you officially launch your store, test the complete purchasing journey.
Place a test order and check:
- Product selection
- Add to Cart
- Cart calculations
- Checkout fields
- Payment process
- Shipping charges
- Order confirmation
- Customer emails
- Order management
- Mobile experience
Also review your important website pages, including:
- About
- Contact
- Privacy Policy
- Terms and Conditions
- Shipping Policy
- Refund or Return Policy
Test your website on desktop and mobile devices. Check menus, buttons, images, forms, links, product variations, and checkout functionality.
Step 13: Launch and Monitor Your Store
After testing everything, your store is ready to launch.
But launching is only the beginning. Once customers start visiting your website, monitor how the store performs.
Pay attention to:
- Traffic
- Sales
- Conversion rate
- Product performance
- Cart abandonment
- Customer feedback
- Website performance
- Checkout issues
Use this information to identify areas that need improvement.
You can gradually optimize product descriptions, category pages, images, navigation, internal links, checkout, and other parts of the customer journey.
How Much Does It Cost to Build an Online Store With WooCommerce?
The cost depends on how you build and customize your store.
WooCommerce is open-source, but an ecommerce website can still involve several expenses, including:
- Domain registration
- Hosting
- Premium themes
- Paid plugins and extensions
- Payment processing fees
- Custom development
- Maintenance and security
A simple store may require a relatively small initial investment, while a larger business with advanced integrations and custom functionality may require a larger budget.
Instead of choosing tools based only on price, consider whether they are reliable, compatible, maintainable, and suitable for your long-term business needs.
Common WooCommerce Store Setup Mistakes
When you set up a WooCommerce store, avoid these common mistakes.
Installing Too Many Plugins
Only install plugins that solve a genuine business or customer problem.
Ignoring Mobile Experience
Make sure customers can browse products, use the cart, and complete checkout comfortably on mobile devices.
Using Weak Product Content
Incomplete descriptions and poor-quality images can reduce customer confidence.
Skipping Checkout Testing
Always test the entire purchasing process before accepting real orders.
Forgetting Website Security
Keep WordPress, WooCommerce, themes, and plugins updated and maintain regular backups.
Making Navigation Complicated
Use simple categories and clear navigation so customers can find products without unnecessary clicks.
Conclusion
Learning how to build an online store on WooCommerce becomes much easier when you approach the process step by step. Start with a reliable domain and hosting, install WordPress and WooCommerce, choose a suitable theme, add useful product information, configure payments and shipping, and create a straightforward checkout experience.
Once the foundation is working correctly, add WooCommerce plugins and advanced features based on your actual business requirements rather than installing tools simply because they are available.
A successful WooCommerce store is not just about having products online. It should make it easy for customers to discover products, understand what they’re buying, complete their orders, and get the support they need.
By focusing on usability, performance, security, clear product information, and continuous improvement, you can build an ecommerce store that provides a better customer experience and gives your business room to grow.