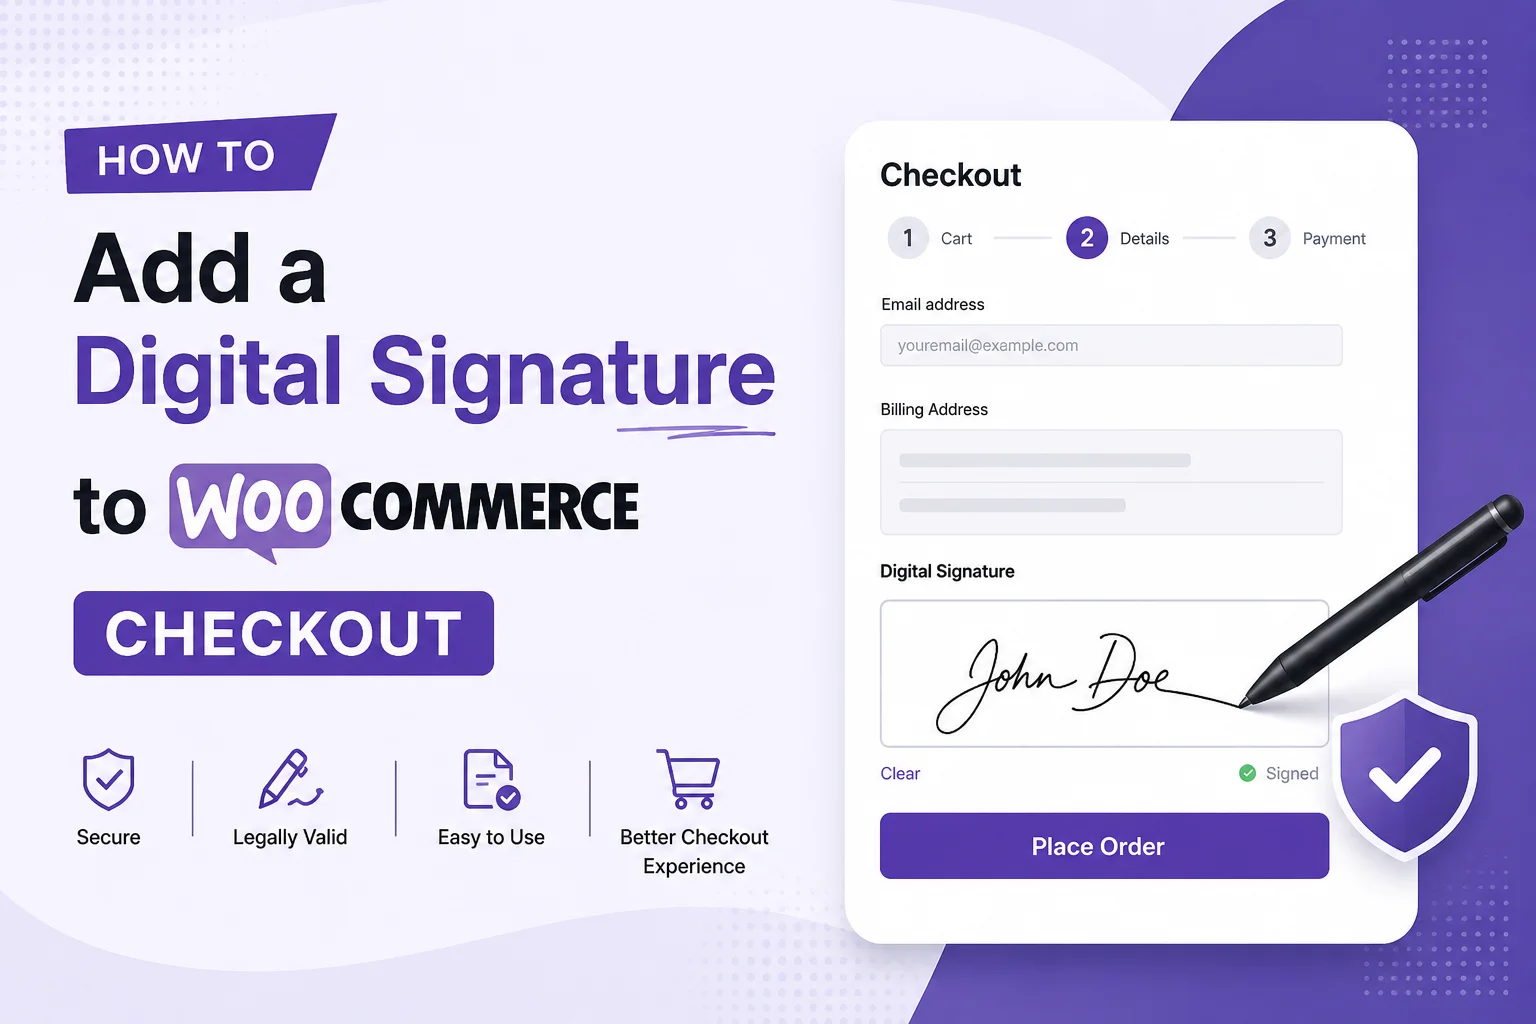
If your WooCommerce store sells custom products, professional services, rentals, or products that require customer approval, a standard checkout page may not be enough. In many cases, you need customers to review important information and provide a signature before completing their purchase.
Adding a digital signature to WooCommerce checkout allows customers to approve terms, confirm order details, or sign agreements without leaving your website. Instead of printing documents or exchanging multiple emails, the entire approval process happens during checkout.
Why digital signatures are useful, when you should use them, and how to add a signature field to your WooCommerce checkout step by step.
Why Add a Digital Signature to WooCommerce Checkout?
For many online stores, collecting a signature is an important part of the buying process. Whether you’re confirming a custom design or asking customers to accept terms before payment, digital signatures help streamline approvals while improving the customer experience.
If you’re unsure which solution to use, comparing the Top 5 WooCommerce Signature Plugins can help you understand the available features, compatibility, and setup options before adding a digital signature to your WooCommerce checkout.
Collect Customer Approval Before Payment
Some products require customer confirmation before production or delivery.
For example, if you sell personalized products, customers may need to approve the final design, text, or specifications before the order moves into production.
Adding a signature field ensures that customers review the information and confirm their choices before placing the order.
Reduce Manual Paperwork
Traditional approval methods often involve printing documents, signing them manually, scanning them, and sending them back through email.
This process slows down both customers and administrators.
By collecting signatures during checkout, businesses can replace paper documents with a faster digital workflow.
Create a Better Customer Experience
Customers expect online shopping to be quick and convenient.
Instead of leaving your website to complete paperwork, they can review the required information and sign directly during checkout.
A simple approval process creates a smoother buying experience while helping customers complete their purchases with confidence.
Keep Customer Records Organized
Digital signatures are typically stored together with WooCommerce order information.
This makes it easier to review approvals, answer customer questions, and maintain organized records without searching through emails or paper documents.
Reduce Order Disputes
One common challenge for businesses selling custom products is proving that a customer approved the final order details.
Collecting a digital signature during checkout creates a record showing that the customer acknowledged the information before placing the order. While legal requirements vary by region, keeping clear approval records can help reduce misunderstandings.
When Should You Add a Digital Signature to Checkout?
Not every WooCommerce store needs a signature field. However, if your business requires customer approval before fulfilling an order, adding a Digital Signature WooCommerce Checkout field can simplify your workflow.
Here are some common examples.
Personalized Products
Customers approve names, artwork, colors, measurements, or other customizations before production begins.
Printing Services
Printing businesses often require customers to approve business cards, brochures, banners, or packaging before printing.
Rental Businesses
Customers sign rental agreements before equipment or vehicles are released.
Professional Services
Agencies, consultants, designers, and freelancers can collect service agreements before starting client work.
Healthcare and Wellness
Healthcare providers may collect consent forms before appointments or services. Make sure your workflow complies with applicable regulations.
B2B Stores
Wholesale businesses often collect approvals for quotations, purchase agreements, or customized orders before fulfillment, making it easier to manage different eCommerce Business Models efficiently.
Benefits of Adding a Digital Signature to WooCommerce Checkout
Adding a digital signature field does more than replace paper forms. It creates a faster, more professional checkout process for both customers and administrators.
Faster Order Processing
Because approvals happen immediately during checkout, your team can process orders faster without waiting for signed documents by email, helping Speed Up WooCommerce order processing.
Better Customer Experience
Customers complete everything in one place without switching between multiple tools or downloading additional files.
Paperless Workflow
Replacing paper documents with digital signatures reduces administrative work while keeping records organized.
Improved Business Efficiency
Automating approvals allows staff to focus on fulfilling orders instead of chasing paperwork.
More Professional Checkout
A well-designed checkout process builds trust and gives customers confidence that your business is organized and transparent.
How to Add a Digital Signature to WooCommerce Checkout
There are several ways to add a signature field, but using a dedicated WooCommerce Signature Plugin is usually the easiest and most reliable option.
Let’s go through the process step by step.
Step 1: Choose a WooCommerce Signature Plugin
Start by selecting a plugin that supports digital signatures during checkout.
When comparing plugins, look for features such as:
- Mobile-friendly signature pad
- WooCommerce checkout integration
- Secure signature storage
- Easy setup
- Regular updates
- PDF support (if required)
If you’re still exploring different solutions, check out our WooCommerce Digital Signature Plugin Guide to compare available options and understand which features are most important for your store.
Step 2: Install and Activate the Plugin
After choosing your preferred plugin:
- Download the plugin.
- Log in to your WordPress dashboard.
- Navigate to Plugins → Add New.
- Upload the plugin ZIP file.
- Click Install Now.
- Activate the plugin.
Once activated, you’ll usually find the plugin settings under WooCommerce or its own settings page.
Step 3: Enable the Signature Field
Open the plugin settings and enable the signature option for your checkout page.
Most plugins allow you to customize:
- Field label
- Field position
- Required or optional signature
- Signature pad size
- Error messages
- Mobile responsiveness
Choose settings that match your checkout flow while keeping the signing process simple for customers.
Step 4: Configure Signature Settings
After enabling the signature field, configure the plugin settings based on your business requirements.
Most WooCommerce Signature Plugins allow you to customize:
- Signature field label
- Required or optional signature
- Signature pad size
- Signature color
- Clear button
- Mobile responsiveness
- Order confirmation message
Keep the settings simple so customers can complete the checkout without confusion.
Step 5: Test the Checkout Process
Before making the feature available to customers, complete a few test orders.
During testing, check whether:
- The signature field appears correctly.
- Customers can sign on desktop and mobile devices.
- The signature is saved with the WooCommerce order.
- Confirmation emails include the expected order information.
- The checkout process works without errors.
Testing helps identify issues before they affect real customers.
Step 6: Review Orders in WooCommerce
Once customers start placing orders, review how signatures are stored.
Most plugins display the signature directly in the WooCommerce order details, allowing administrators to verify approvals without searching through emails or paper documents.
If your business also manages customer forms, consider using Submissions Manager to keep submissions organized in one place.
Step 7: Optimize the Checkout Experience
Adding a signature field should improve the buying experience—not make checkout more complicated.
To keep the process user-friendly:
- Place the signature field near the end of checkout.
- Explain why a signature is required.
- Keep instructions short and clear.
- Ensure the signature pad works well on mobile devices.
- Avoid adding unnecessary required fields.
A simple checkout experience encourages more customers to complete their purchases.
Best Practices for Adding a Digital Signature to WooCommerce Checkout
Follow these best practices to create a smooth and professional checkout experience.
Only Request a Signature When Necessary
Not every order requires customer approval. Use signatures only when they add value, such as for custom products selected through a WooCommerce Product Dropdown, service agreements, or consent forms.
Explain Why You’re Collecting a Signature
A short explanation helps customers understand the purpose of the signature and increases trust.
Prioritize Mobile Users
Many WooCommerce purchases are completed on mobile devices. Test the signature pad across different screen sizes to ensure it remains easy to use.
Keep Customer Data Secure
Store signatures securely and limit access to authorized administrators. Review your plugin’s documentation to understand how it handles data storage and backups.
Common Mistakes to Avoid
Avoid these common issues when adding a digital signature to checkout.
- Requiring signatures for every product, even when unnecessary.
- Displaying the signature field too early in the checkout process.
- Using a signature pad that’s difficult to use on mobile devices.
- Providing unclear instructions.
- Forgetting to test the checkout process after plugin or WooCommerce updates.
Conclusion
Adding a digital signature to WooCommerce checkout is a simple way to streamline customer approvals, reduce paperwork, and improve the overall buying experience. By using a reliable WooCommerce Signature Plugin, you can collect signatures directly during checkout and keep them linked to each order for easy management.
If you’re comparing different options, explore our Top 5 WooCommerce Signature Plugins guide to find the right solution for your store. You can also read our WooCommerce Digital Signature Plugin Guide to learn more about digital signatures, or discover how WooCommerce Product Dropdown and Product Dropdown for Contact Form 7 can further improve your product selection and inquiry forms.