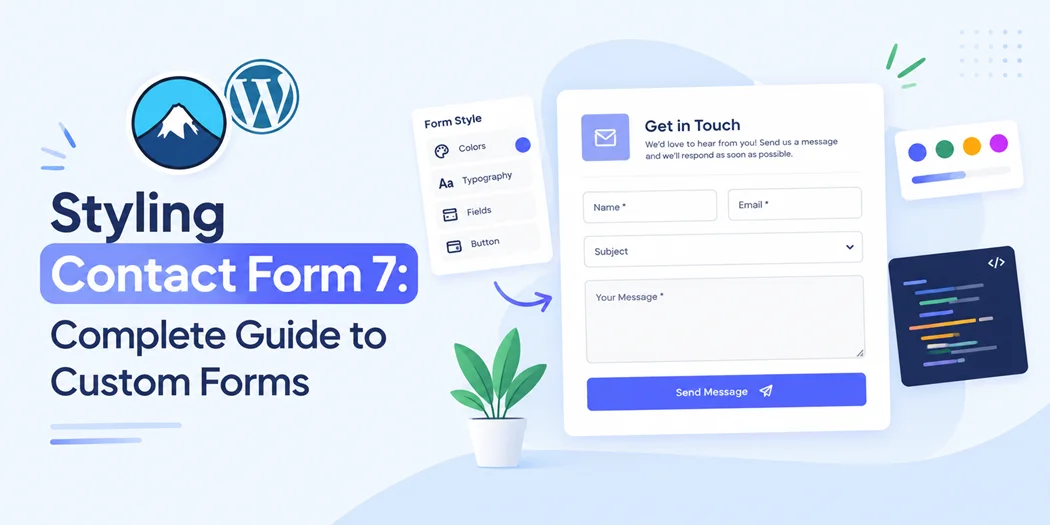
Contact Form 7 is a popular WordPress plugin for creating contact, inquiry, registration, and lead-generation forms. However, the default form appearance may not always match your website’s branding or user experience.
Styling Contact Form 7 allows you to customize form fields, labels, buttons, spacing, colors, typography, and layouts using CSS and WordPress customization options.
When working on the overall form experience, a Contact Form 7 submissions guide can also help you understand how submitted entries are handled. With the right approach, you can create a professional form that looks consistent with your website and works smoothly across desktop, tablet, and mobile devices.
In this guide, you’ll learn how to style Contact Form 7, add custom CSS, customize individual fields and buttons, create responsive layouts, troubleshoot common styling problems, and improve your overall form experience.
What Can You Customize in Contact Form 7?
Contact Form 7 gives you control over the form structure, while CSS can control much of its visual appearance.
You can customize:
- Input fields
- Textareas
- Dropdown menus
- Checkboxes
- Radio buttons
- Labels
- Required-field indicators
- Submit buttons
- Colors
- Borders
- Font sizes
- Spacing
- Form width
- Responsive layouts
A good Contact Form 7 design should do more than look attractive. It should make the form easy to scan, understand, complete, and use on different devices.
Before adding advanced styling, decide what your visitors need to accomplish. A short contact form may only require a few fields, while a product inquiry or service request form may need additional options.
How to Style Contact Form 7
The most flexible way to create a custom contact form 7 style is to combine Contact Form 7 form markup with CSS classes.
Start by identifying the elements you want to style. For example, you may want to create separate classes for:
- Form containers
- Input fields
- Textareas
- Dropdowns
- Submit buttons
Using classes gives you more control than applying broad styles to every form element on your website.
Step 1: Organize Your Form Fields
Keep related fields together and use clear labels.
For example:
- Full Name
- Email Address
- Phone Number
- Subject
- Message
Avoid adding fields simply because they are available. Every additional field can increase the effort required to complete a form.
Step 2: Add Classes to Form Elements
When creating your Contact Form 7 form, use appropriate classes for elements that require custom styling.
For example, you can assign a class such as custom-input to your text fields and then target that class with CSS.
This approach makes it easier to update the design later without affecting unrelated elements.
How to Add Contact Form 7 Custom CSS
Contact Form 7 custom CSS gives you direct control over the visual presentation of your form.
Depending on your WordPress setup, you can add CSS through the WordPress Customizer, Site Editor, theme stylesheet, or another CSS-management method.
Style Input Fields
A basic input-field style can control the width, spacing, border, and typography.
.custom-input {
width: 100%;
padding: 12px 14px;
border: 1px solid #ccc;
border-radius: 6px;
font-size: 16px;
box-sizing: border-box;
}
This creates a cleaner field with consistent internal spacing.
Don’t copy CSS blindly into every website. Your theme may already have styles that affect Contact Form 7 fields, so test the result and adjust the selectors according to your site’s design.
Style the Textarea
A message field generally needs more vertical space than a single-line input.
.custom-textarea {
width: 100%;
min-height: 150px;
padding: 12px 14px;
border: 1px solid #ccc;
border-radius: 6px;
box-sizing: border-box;
resize: vertical;
}
Allowing visitors to resize the textarea can be useful when they need to enter a longer message.
Style the Submit Button
The submit button should be visually distinct and easy to identify.
.custom-submit {
padding: 12px 24px;
border: 0;
border-radius: 6px;
font-size: 16px;
cursor: pointer;
}
You can then add a hover state that provides visual feedback when visitors interact with the button.
The exact colors should match your website’s existing brand system rather than using unrelated styling.
How to Customize Contact Form 7 Fields
When you customize Contact Form 7, focus on usability first.
Text and Email Fields
Make text fields large enough for comfortable typing. Consistent field heights, padding, borders, and font sizes create a more professional appearance.
Email fields should also be clearly labeled so visitors understand what information is expected.
Dropdown Fields
Dropdowns are useful when visitors need to select one option from a predefined list.
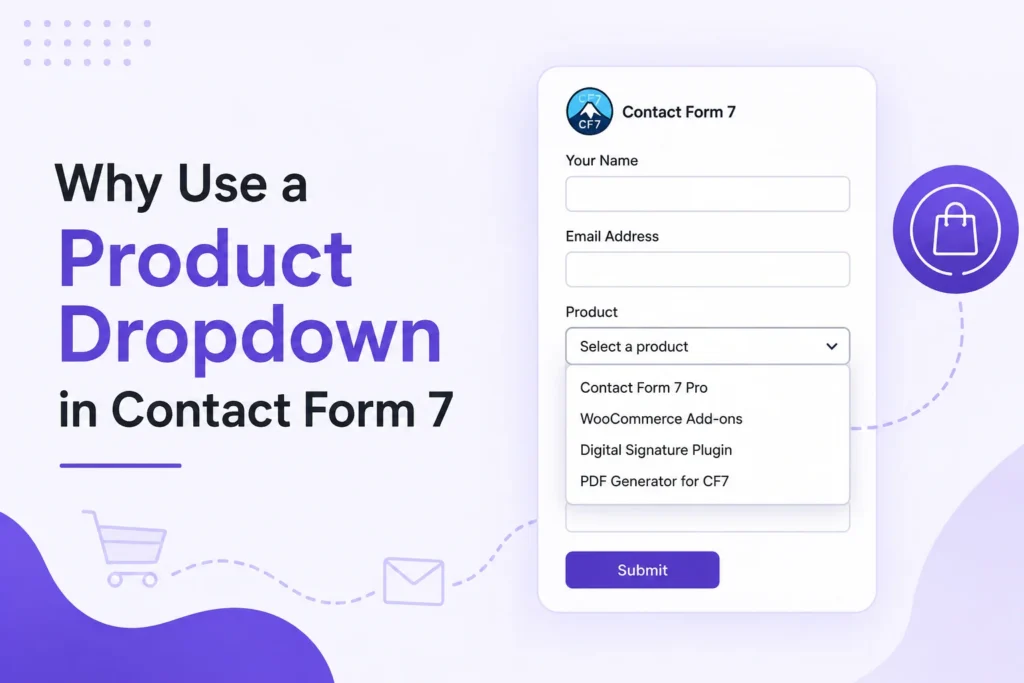
For product inquiries, a product-selection field can make the process easier than asking customers to manually type a product name.
If your website needs this functionality, you can use the Product Dropdown Selector for Contact Form 7 to give visitors a structured way to select products within a Contact Form 7 form.
Checkboxes and Radio Buttons
Use checkboxes when visitors can select multiple options. Use radio buttons when they should select only one option.
Keep the control and its label visually close together. This makes the relationship between the option and its description clear, especially on mobile screens.
How to Create a Two-Column Contact Form
A two-column layout can make longer forms more compact on desktop screens.
For example, you might place:
First Name | Last Name
or:
Email | Phone
However, don’t force every form into multiple columns. A single-column layout is often easier to scan and can work better on mobile devices.
If you use columns, make sure they collapse into a single column on smaller screens.
How to Make Contact Form 7 Responsive
A responsive Contact Form 7 design should adapt to different screen sizes without creating horizontal scrolling or difficult-to-use controls.
Follow these practices:
- Use flexible widths.
- Avoid oversized fixed dimensions.
- Keep fields within the viewport.
- Use readable font sizes.
- Provide enough spacing between controls.
- Make buttons easy to tap.
- Test the form on phones and tablets.
- Check both portrait and landscape orientations.
For example, if you create a two-column form, you can use a media query to change it to one column on smaller screens.
@media (max-width: 768px) {
.form-row {
display: block;
}
.form-row .form-field {
width: 100%;
margin-bottom: 15px;
}
}
Always test responsive changes on real devices or browser responsive tools before publishing.
How to Improve Contact Form 7 User Experience
Good styling should make the form easier to complete, not simply more decorative.
Use Clear Labels
Labels should explain exactly what information is required.
Instead of vague wording such as “Enter details,” use specific labels such as “Business Email” or “Phone Number.”
Show Required Fields Clearly
Visitors should understand which information is mandatory before submitting the form.
Keep the Form Focused
Only request information that is genuinely needed for the purpose of the form.
Make Error Messages Understandable
Validation messages should help visitors understand what needs to be corrected instead of simply saying that the submission failed.
Maintain Visual Consistency
Use the same typography, spacing, and visual language as the rest of your website.
This makes the form feel like a natural part of the site rather than a separate third-party component.
Advanced Contact Form 7 Customization
CSS can improve appearance, but some websites need additional functionality.
For example, a business may need:
- Product selection
- Customer authorization
- Digital signatures
- Additional submission information
- Better entry management
If a workflow requires customer approval or authorization, you can add digital signature functionality to your Contact Form 7 form.
This can be useful for applications, service requests, approvals, agreements, and other situations where a standard contact form may not capture everything required.
The important principle is to add functionality based on the form’s purpose. Avoid adding unnecessary features that make the form longer or harder to complete.
How to Manage Contact Form 7 Submissions
Styling is only one part of creating an effective form.
After visitors submit a form, you need a reliable process for handling the information.
Depending on your website, submissions might include:
- Customer inquiries
- Sales leads
- Support requests
- Product questions
- Quote requests
- Registration information
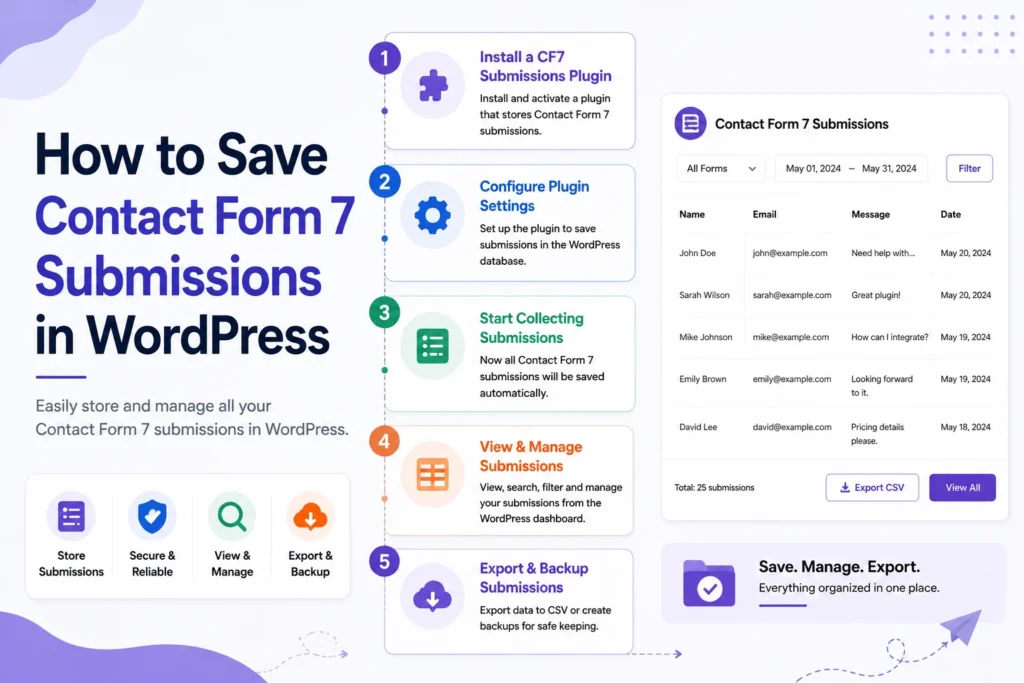
If you want to understand how submitted data works, a Contact Form 7 submissions guide can help you explore the available options for managing form entries in WordPress.
How to Save Contact Form 7 Submissions
Email notifications can be useful, but relying only on email may make it harder to organize historical entries.
If your business needs a record of submitted information, you may want to save Contact Form 7 submissions in WordPress so entries can be reviewed and managed later.
This can be particularly useful for websites receiving regular customer inquiries.
Managing Multiple Form Entries
When a website receives a large number of submissions, manually managing every entry can become inefficient.
The OrbitVault Submission Manager for Contact Form 7 provides a way to manage Contact Form 7 entries within WordPress, including features for organizing and working with submitted data.
This creates a complete workflow:
Create → Style → Submit → Save → Manage
Common Contact Form 7 Styling Problems
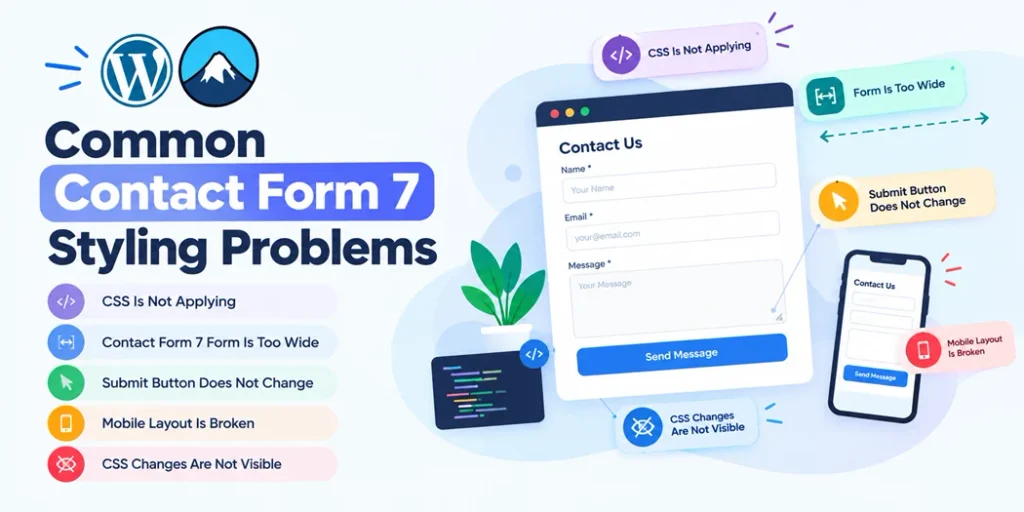
Even when the CSS looks correct, your form may not display as expected.
CSS Is Not Applying
Check whether your selector matches the correct HTML element. Your theme may also have a more specific CSS rule that overrides your custom styling.
Contact Form 7 Form Is Too Wide
Check fixed widths and make sure fields use responsive sizing. Also verify that padding and borders are included correctly in the element width.
Submit Button Does Not Change
Inspect the button and check whether your theme has its own button styles. You may need a more specific selector.
Mobile Layout Is Broken
Check for fixed widths, large margins, or desktop-only column layouts. Test the form at several screen sizes.
CSS Changes Are Not Visible
Caching can sometimes prevent recent changes from appearing immediately. Clear your website, plugin, CDN, or browser cache where applicable and test again.
Contact Form 7 Styling Best Practices
Before publishing a customized form, use this checklist:
- Keep the form focused on one goal.
- Use clear and descriptive labels.
- Maintain consistent spacing.
- Use readable typography.
- Make required fields clear.
- Keep the submit button noticeable.
- Avoid unnecessary decorative effects.
- Make the form responsive.
- Test keyboard navigation.
- Test the form on mobile devices.
- Check validation and error messages.
- Submit a test entry after making changes.
- Verify that submissions are being received and managed correctly.
Remember that Contact Form 7 CSS should support usability rather than overpower it.
Conclusion
Styling Contact Form 7 is about creating a form that looks consistent with your website while remaining simple and accessible for visitors.
Start with the essentials: clear labels, logical field spacing, readable typography, comfortable inputs, and an obvious submit button. Then use Contact Form 7 custom CSS to refine individual elements and create a responsive layout.
Once the visual design is complete, consider the complete form workflow. Product selection, digital signatures, and reliable submission management can extend what your forms are capable of when those features match your business needs.
A well-designed Contact Form 7 form should ultimately do three things well: look professional, make completion easy, and help you manage the information submitted by your visitors.