5.1 – Add to Cart
Instead of just emailing you the visitor’s selection, the Pro version can add their selected product(s) straight into the WooCommerce cart when the form is submitted turning the form into a real, working order form.
- In the tag generator, tick Add selected product(s) to WooCommerce cart on submit.
- Optionally also tick Redirect straight to Checkout instead of the Cart page if you want visitors to go directly to checkout.
- Save the form as usual.
When a visitor submits the form, they’ll be redirected automatically to the Cart (or Checkout) page with their selection already added.

5.2 – WPForms Integration
If you use WPForms instead of (or alongside) Contact Form 7, the Pro version adds the same live, filterable product dropdown as a native WPForms field.
- Open a form in the WPForms builder.
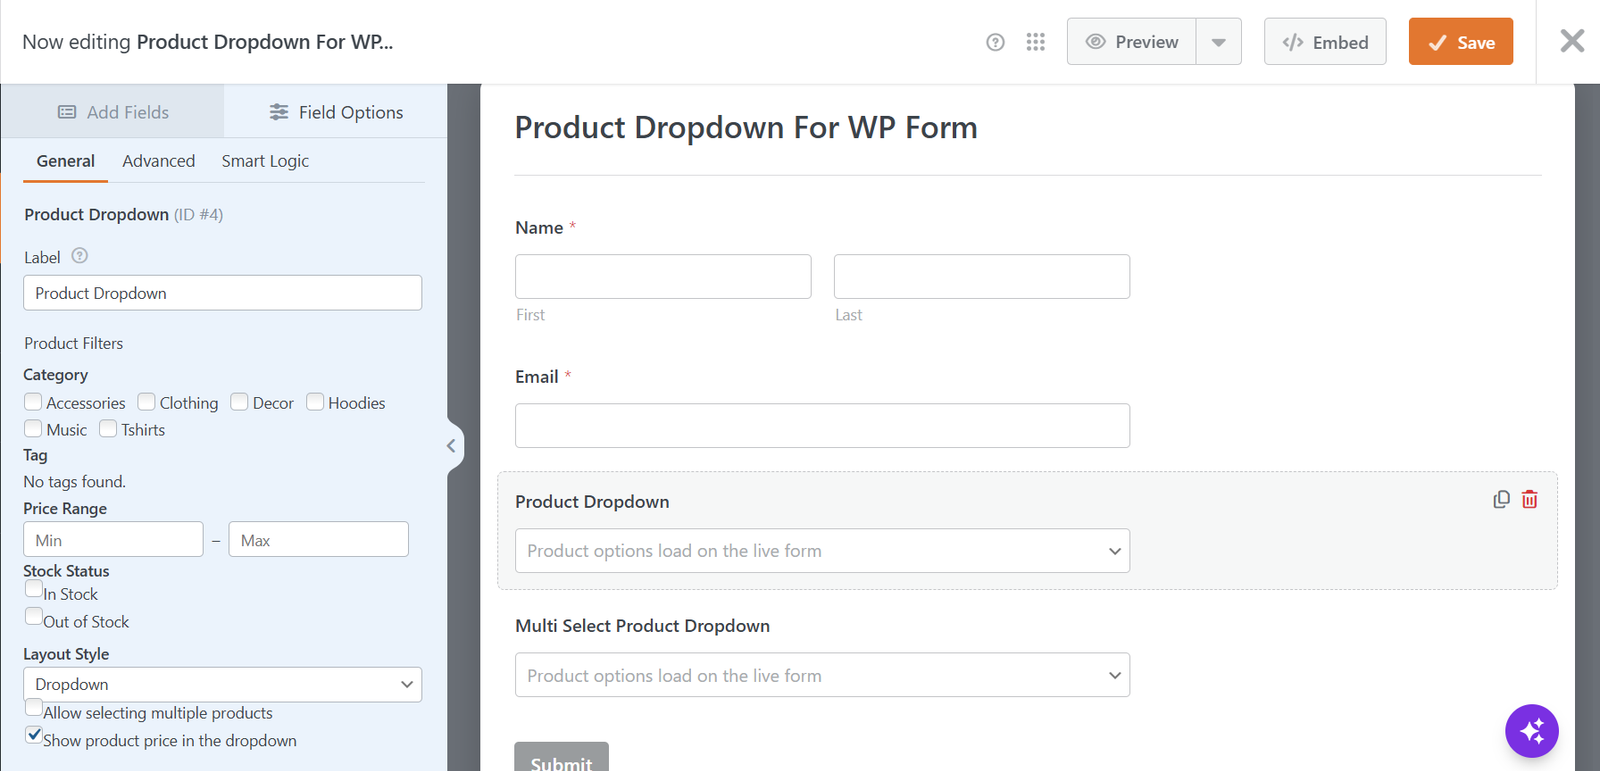
- Drag the Product Dropdown field (under the “Fancy Fields” group) onto your form.
- Click the field to open its settings, and configure the same kind of filters as the CF7 version: Category, Tag, Price Range, Stock Status, Layout Style (Dropdown or Select2), and whether to allow multiple selection or show the price.
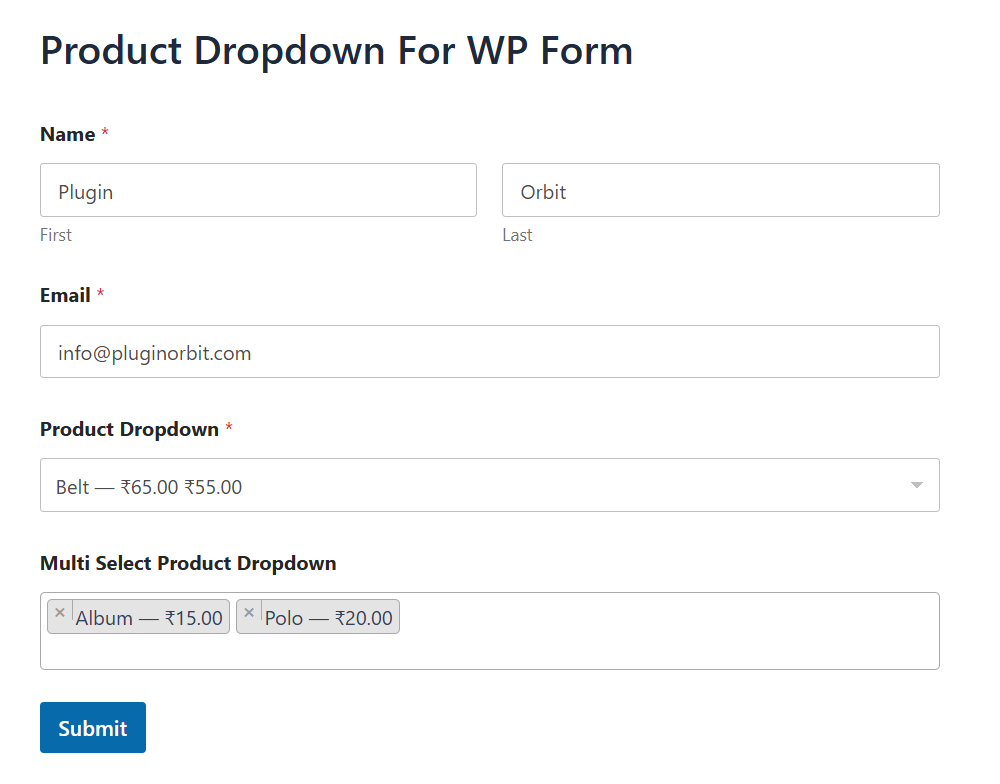
- Save the form and preview it.
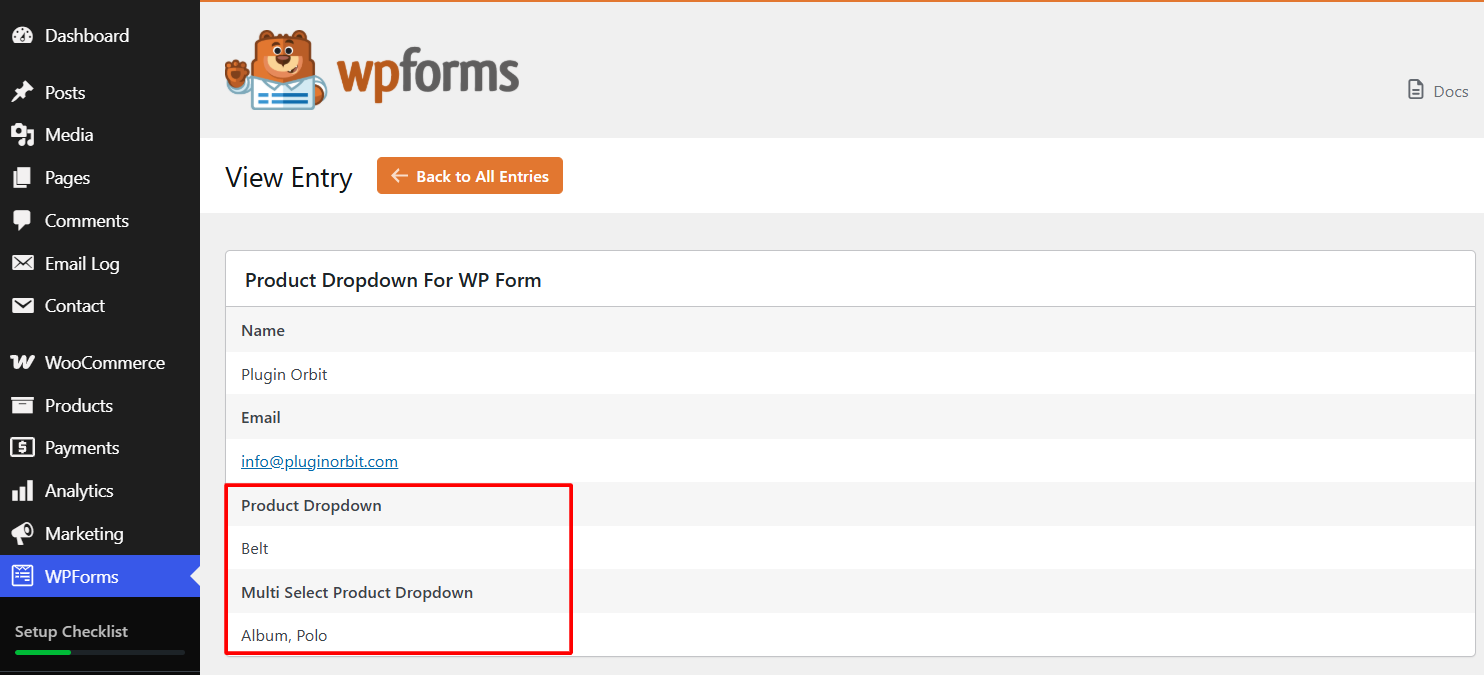
Submitted values are saved with every other WPForms entry, and show up normally in WPForms → Entries like any other field.
5.3 – Conditional Field Display
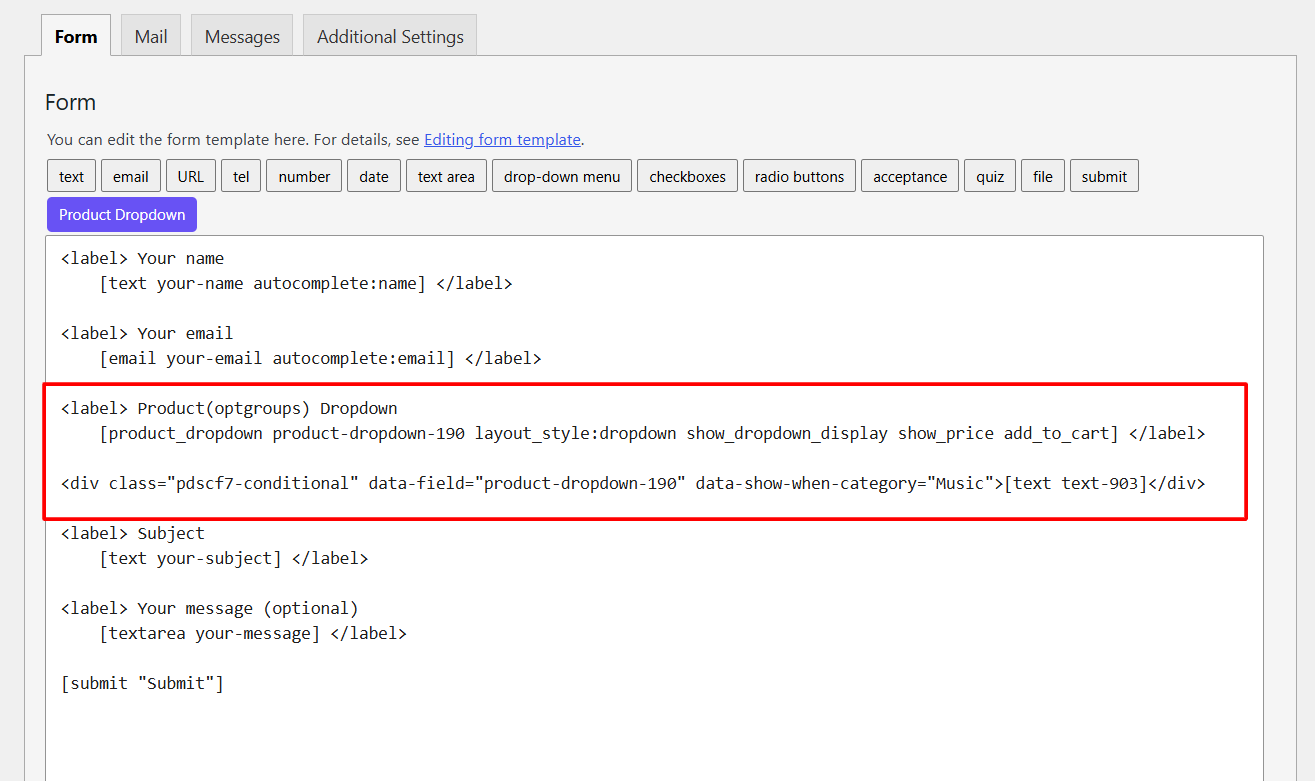
Show or hide other fields on the form automatically, based on which product (or which category) the visitor selected in the product dropdown.
This works by wrapping the field(s) you want to conditionally show inside a marked <div>, directly in Contact Form 7’s Form tab (mixing plain HTML with CF7 tags is fully supported there):
html
<div class="pdscf7-conditional" data-field="product-dropdown-190" data-show-when-category="Music">
    [text your-custom-question]
</div>data-fieldmust match the product dropdown’s Field ID (set in the tag generator’s “Field ID” box).- Use
data-show-when-category="Music"to show the block when a product from that category is selected, ordata-show-when-product="Exact Product Title"to match one specific product instead. - Separate multiple values with a pipe
|, e.g.data-show-when-category="Music|Instruments"— the block shows if the selection matches any of them. - You can use both attributes together on the same block if you want it to appear for either a specific category OR a specific product.
5.4 – Filter Presets
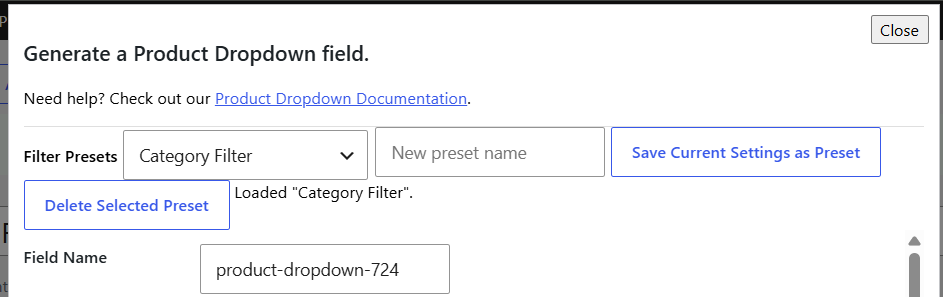
If you find yourself configuring the same combination of filters repeatedly across different forms, save that configuration once as a named preset and reload it instantly next time.
- Open the tag generator on any form.
- Configure your filters, layout, and display options as usual.
- At the top of the tag generator panel, type a name into the preset field and click Save Current Settings as Preset.
- On any other form (or the same one later), pick that preset from the Load a saved preset dropdown to instantly re-apply every setting.
- Use Delete Selected Preset to remove one you no longer need.